How to practice parallel parking when every attempt feels different
To practise parallel parking, use a roomy, quiet space, repeat the same starting position, and change one steering decision at a time. Check the rear clearance, front clearance, and final position on every attempt.
This practice plan gives each attempt a job. Start with the basic parallel parking sequence if the order is still unfamiliar, then work through the uncertain bits below.
Where should I practise parallel parking?
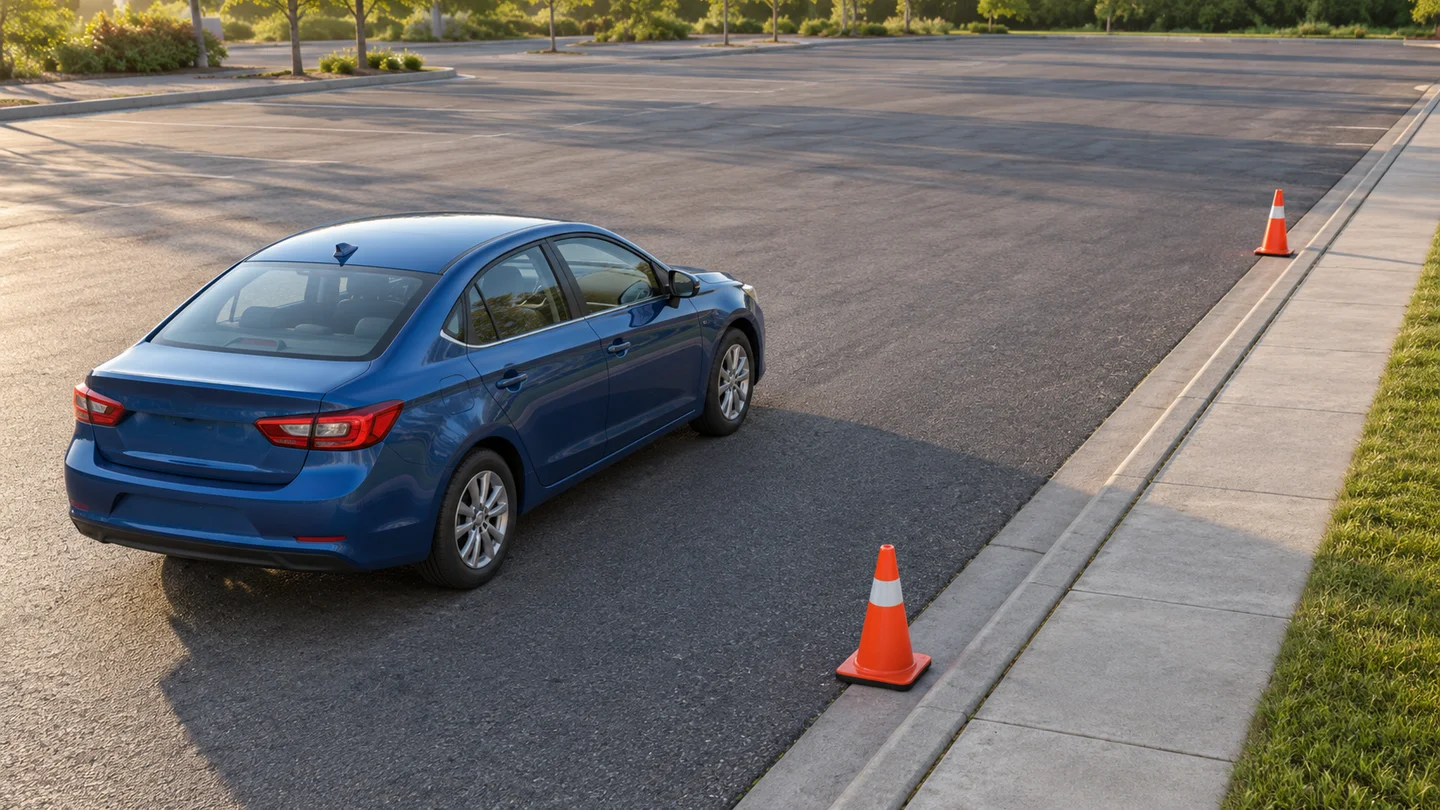
Choose a quiet practice area where you have permission to drive, with plenty of room to stop and reset. Start with soft cones rather than a tight gap between parked cars.
A tiny gap between two cars adds several problems at once: clearance, steering timing, and pressure from traffic. If you're a learner, follow your local supervision requirements.
Soft cones can mark the ends of a practice space without putting another car in the way. They don't reproduce a parked vehicle's shape, so leave generous clearance and treat contact as a reason to stop. Our cone setup guide explains how to lay out a practice area.
Why does every parking attempt turn out differently?
A different starting gap, angle, or turn point changes the path into the space. Keep your approach consistent before deciding which steering adjustment to make.
Before changing your steering, check where you started. Were you farther from the parked car this time? Was your own car straight? Did you begin reversing earlier? If all three change, you won't know which one caused the result.
Use the same seat and mirror settings, the same approach, and the same roomy practice space for a few attempts. You are building a comparison, not trying to prove you can park anywhere yet.
What should I watch while parallel parking?
Check three things: the rear approaching the curb, the front corner clearing nearby obstacles, and the final position. Keep looking around throughout the maneuver rather than watching one mirror continuously.
- First, watch the rear enter the space. Notice when the gap beside the curb starts closing. Keep checking the rest of the car and your surroundings.
- Next, watch the front corner. As the car changes angle, check the clearance from the vehicle in front. A clear path for the rear doesn't prove the front will clear.
- Then, judge the finish. Are you parallel? Is there room at both ends? Can you explain why you stopped there?
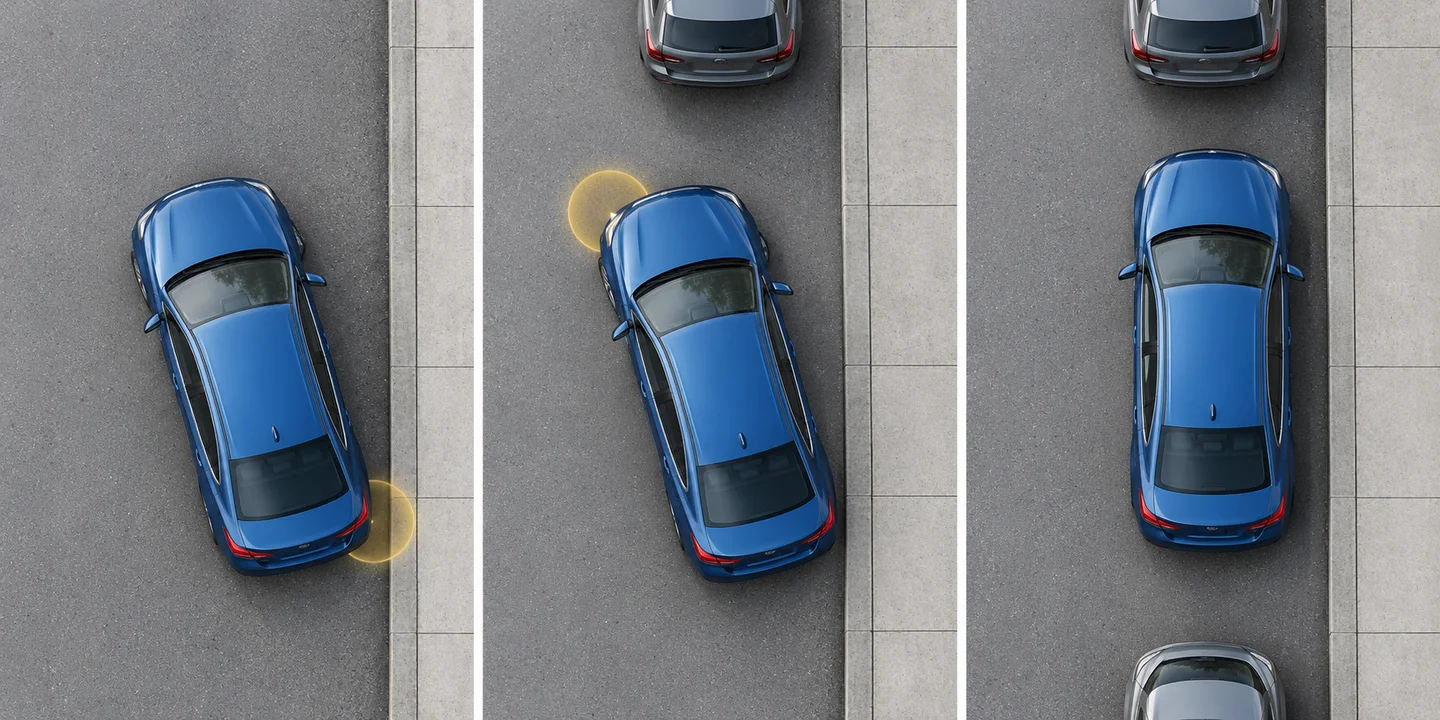
If you can't answer one of those questions, repeat that part in a parallel parking simulator. Stop the car and compare the driver's view with the overhead view. Use the overhead angle to understand the position, then try again from the seat.
What should I change if I keep getting it wrong?
Repeat from the same starting position and change one turn point at a time. Stop and reset if you cannot judge the clearance; steering more without checking the position can make the gap smaller.
Suppose you finish straight but too far from the curb. Note your starting gap and where you changed the steering. Repeat from the same start, adjusting one turn point slightly. Look at what changed rather than turning the wheel more and hoping.
If the rear keeps heading toward the curb before the front has room to come in, stop the attempt. Don't continue just to complete the sequence. Return to a safe starting position when clear, or ask your instructor to help identify the setup problem.
| What you notice | What to check | Next practice goal |
|---|---|---|
| Straight, but far from the curb | Your starting gap and where you changed steering. | Repeat the setup and adjust one turn point slightly. |
| Rear gets close before the front clears | The approach angle and room at the front. | Stop before contact. Review the setup with your instructor. |
| Front corner feels too close | The front corner's path as the car rotates. | In the simulator, stop and compare the driver's and overhead views. |
| Can't see the reference point | Your seat position, mirror setup, and what that cue represents. | Find a visible cue in your own car with your instructor. |
How close to the curb should I finish?
Use the requirement in your local driver handbook. For example, the California DMV's parallel parking guidance says to finish parallel and within 18 inches (about 46 cm) of the curb; that is a California example, not a universal test limit.
The same California Driver's Handbook section on parallel parking recommends finding a space at least 3 feet (about 0.9 m) longer than your vehicle. Beginners can choose more room for practice. A space's length alone doesn't establish that an approach is safe.
When should I stop and start again?
Stop as soon as clearance becomes uncertain or you lose track of the wheel position. Check around the car before moving again, and reset only when there is a clear, safe path.
Choose another space if this one gives you too little room. There is no benefit in rescuing an approach that leaves you guessing about the gaps.
For your next session, keep one short note: “I need to see when the rear gets close to the curb,” for example. That is something you can practise. “I'm bad at parking” gives you nothing to work on.
“Get someone to guide you if you cannot see clearly.”
That guidance also calls for slow reversing and observation around the vehicle. If you need a guide, stop if you lose sight of them or aren't sure what their signal means.
Can online practice replace a lesson?
No. A simulator can help you understand the steering sequence and vehicle position, but real-car practice is still needed for pedal control, visibility, and observation around other road users.
Use the overhead camera to explain a confusing position, then try the same stage from the driver's view. Take the part you still cannot judge to your next lesson rather than assuming a simulator result proves you are ready for the road.
Further reading
California DMV: California Driver's Handbook, Parking — source for the California curb-distance and space-length examples above. Metric figures are rounded conversions.
For real-car observation and reversing precautions, see The Highway Code, rules 200–203. This is a practice routine, not a statement of your local test rules.
Ready to try the sequence? Open parallel parking practice. If the mirror cues still feel vague, check your mirror setup before the next attempt.